 I have spent 19 years growing native plants in my yard, a little over 5 years of which has been in northeast Tennessee. So I thought it would be fun to post a list of my favorite plant species in case they will be helpful to someone else. My favorites are those plants that are dependable, good on a modest budget, and easy to grow from seed applied on bare ground. They give me quick results that make me feel like I know what I am doing and that I don’t look back on with regret, thinking I should have known better.
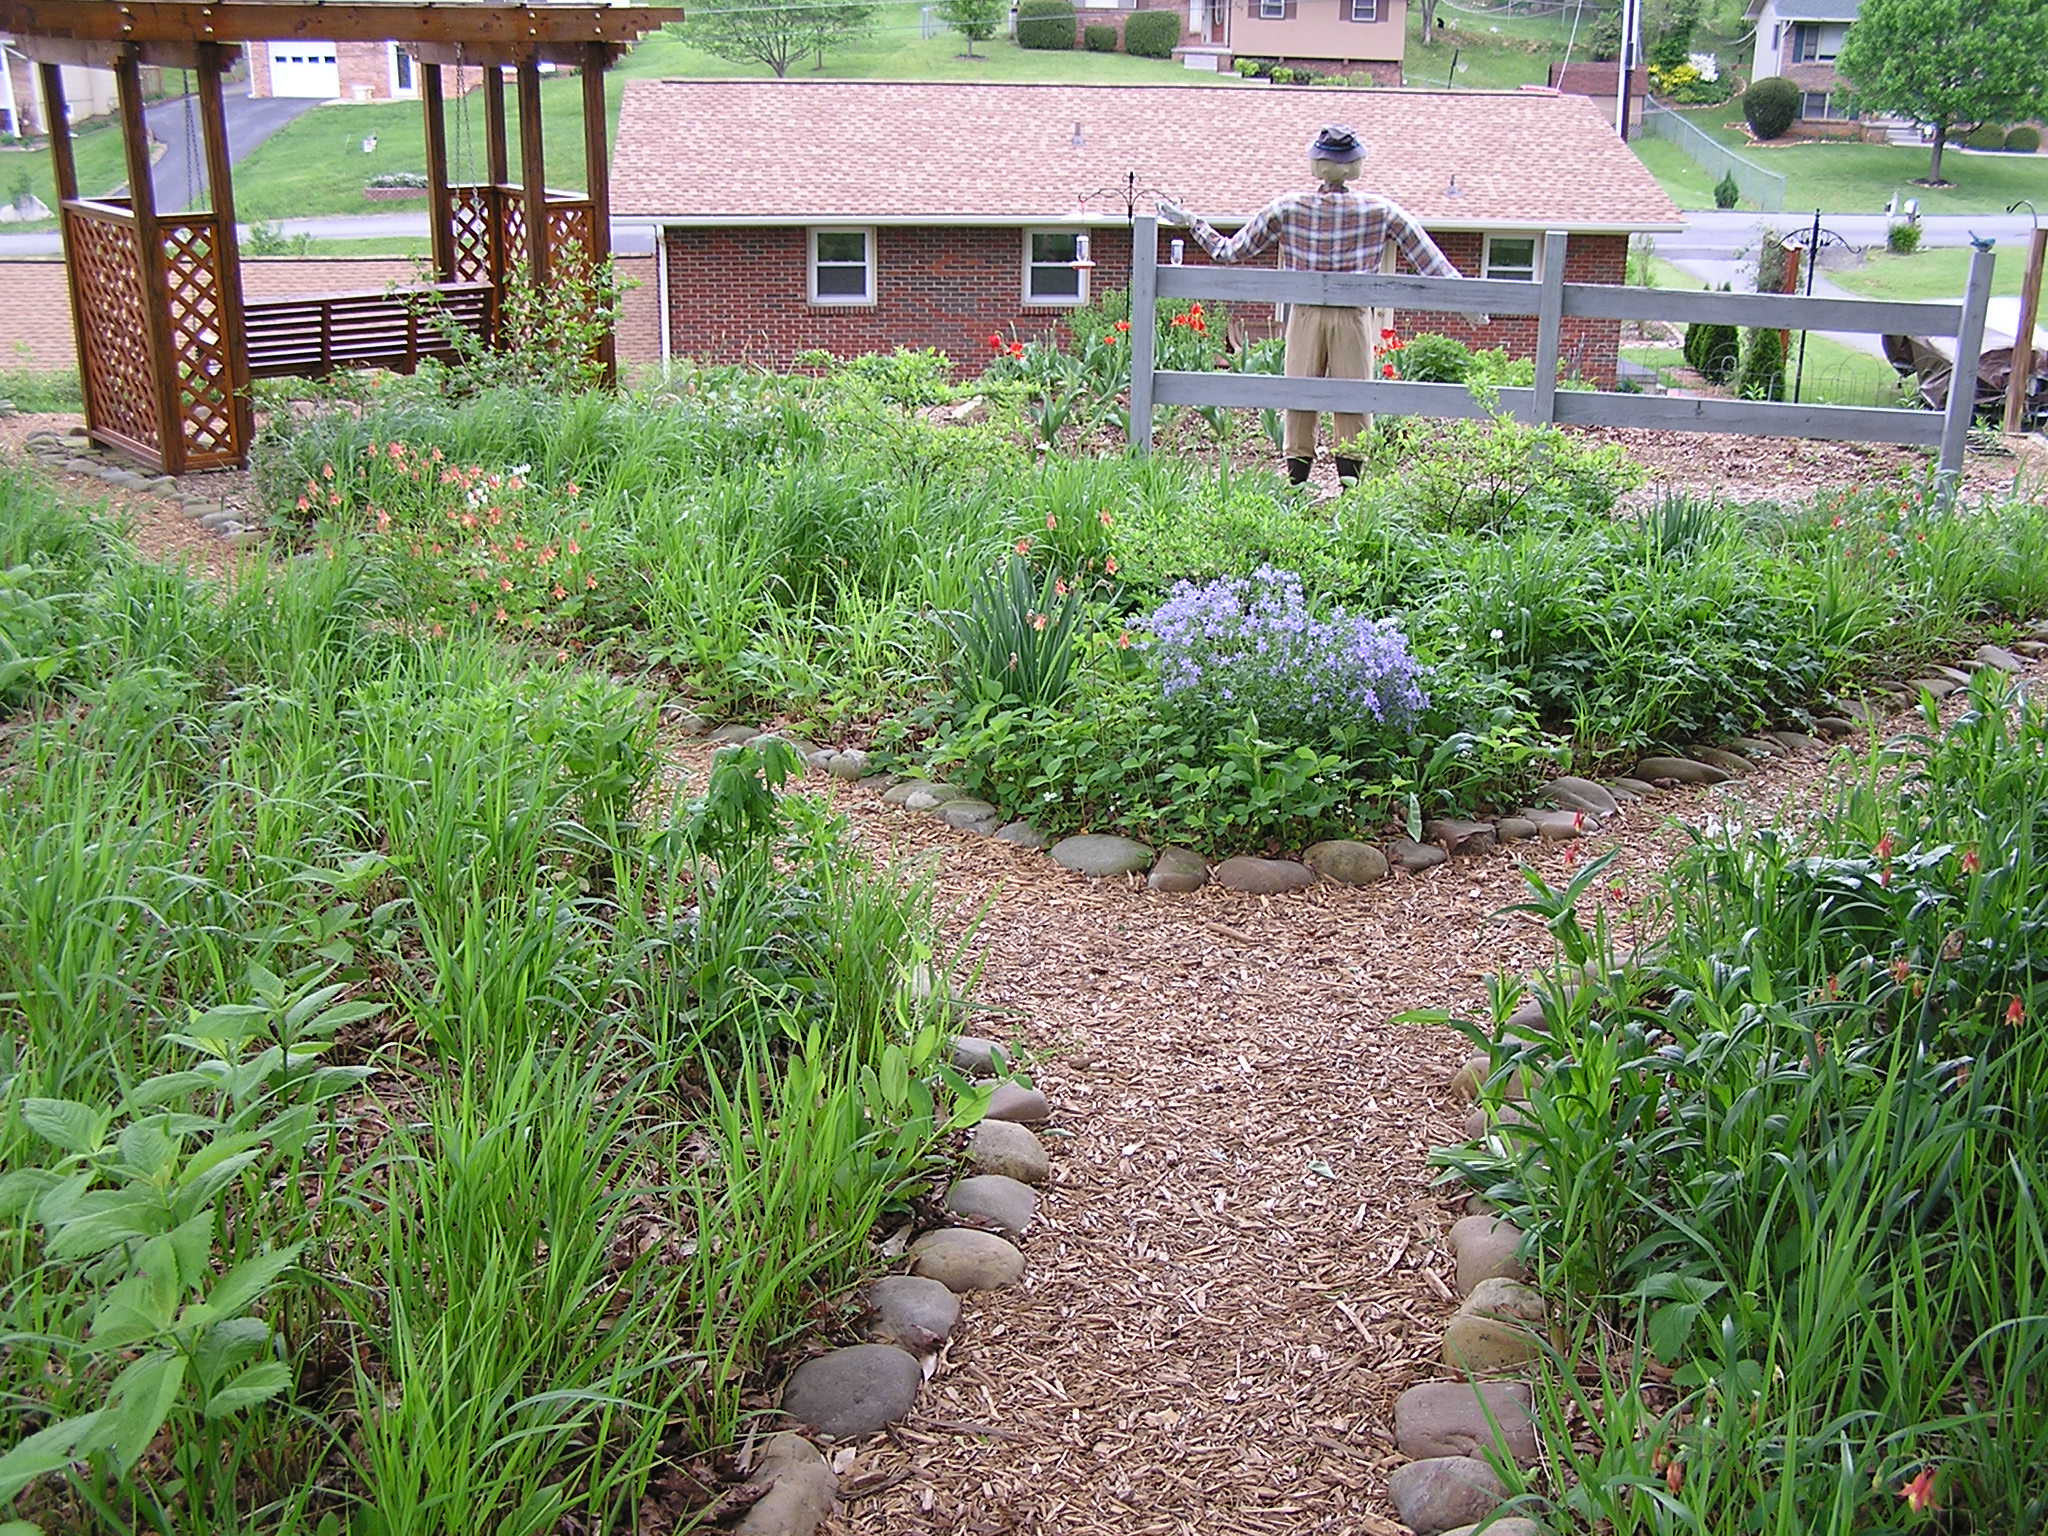
As a preface to the list, I should mention that I like to grow natives in a meadow-like setting as a replacement for lawn. So I am not necessarily recommending these plants for use in a groomed, formal flower bed, which is a whole different creature. I like to do larger areas from seed for a natural setting that draws lots of birds, butterflies and bees.
Here are my dependable favorites and why:

Purple Cone Flower (Echinacea purpurea)
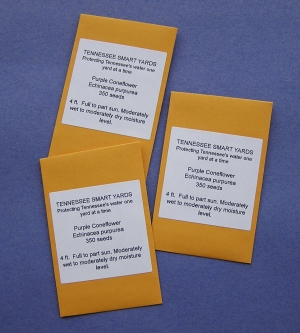
1. Purple Coneflower (Echinacea purpurea). This is my top pick. It is spectacular en masse, blooms for a long period, reseeds well on its own, and beloved by butterflies. It is also a favorite food of goldfinches, who are so impatient to eat that they start checking for seed ripeness as soon as flowers appear. When fall arrives, a flock of goldfinches hangs out in my yard for about two weeks while they stuff themselves. The seed is also inexpensive. You can get it for $2 an ounce (6,600 seeds).

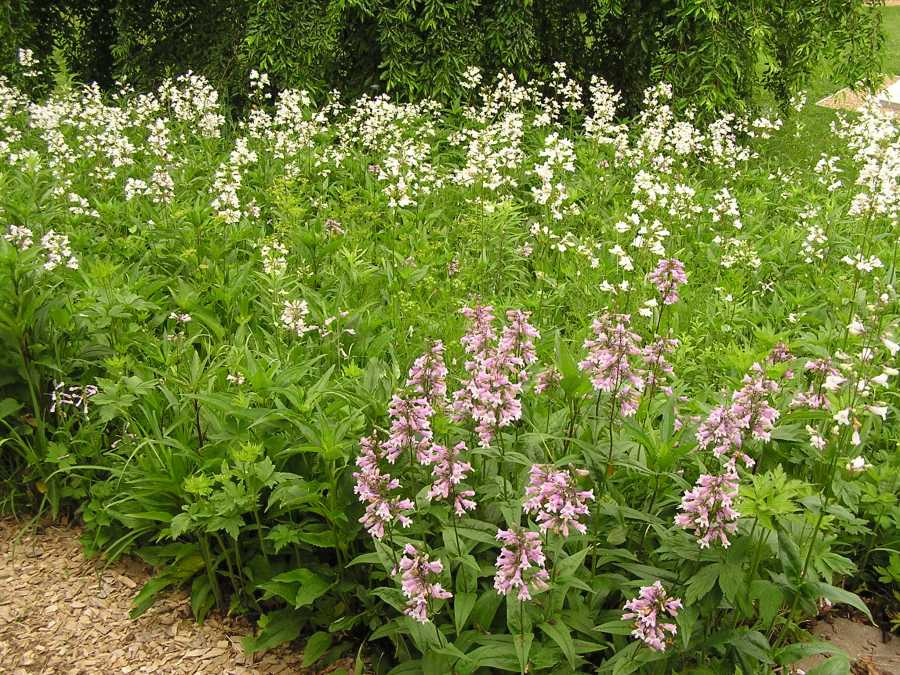
Smooth Penstemon/Foxglove Beardtongue (Penstemon digitalis)
2. Smooth Penstemon/ Foxglove Beardtongue (Penstemon digitalis). This is a charming, white flower that is a very strong re-seeder so you need to be a bit careful in the amount of seed you use. For such a tiny seed (130,000 per ounce), it has an amazingly successful germination rate. You can depend on it to quickly cover bare ground (perhaps a little too quickly). But again it is spectacular en masse, and a large, mass bloom comes alive with the hum of hundreds of bees. It is also an inexpensive seed at only $5 per ounce.
3. Lanceleaf Coreopsis (Coreopsis lanceolata). This is an easy coreopsis from seed and gives quick bloom in the first year. I like its bright dependable color. It makes a good nurse crop while other plants are getting started. I find it does tend to decline after a few years.

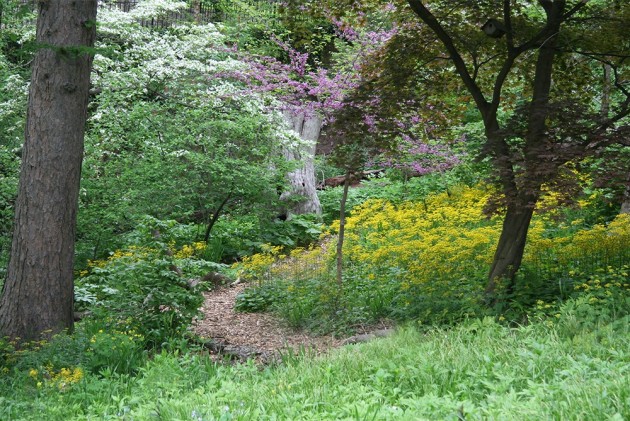
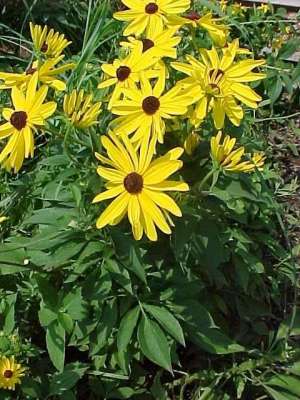
Golden Alexanders (Zizia aurea)
4. Golden Alexanders (Zizia aurea). This is a dependable, bright yellow flower for spring. Seed has a high germination rate, and plants re-seed readily so it is easy to get too much of it. However, it is a favorite food of swallowtail caterpillars, so I don’t mind if I have a solid field of it in April and May. (Even though prolific, it doesn’t seem to crowd out other plants.) Seed is only $5 per ounce (11,000 seeds), but be careful how much you use.

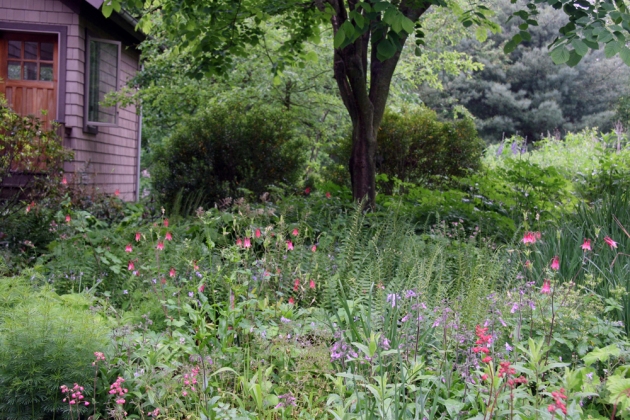
Nodding Pink Onion (Allium cernuum)
5. Nodding Pink Onion (Allium cernuum). Personally I love the cute nodding heads of pink flowers. Its dainty height and shape is a nice contrast to the large plant species. Given its small size, it is better placed along the garden edges. This is another bee plant, and as far as the bees are concerned, you can’t have too much. It is more expensive at $10 per ounce (7,600 seeds) but you can buy a ¼ oz. and depend on just a few plants to nicely reseed themselves over time.
6. Wild Bergamot (Monarda fistulosa). This plant is the old-fashioned native from which many cultivars have been produced. Unfortunately it has a bad, and in my opinion undeserved, reputation for mildew. I find the bees like it better than the cultivars, and the flowers are unique and beautiful. It is a little on the coarse side, but I wouldn’t be without it. When you plant the seed, be forewarned that it will feel like every single seed that you planted germinated. $10 per ounce (70,000 seeds), which is definitely an amount I do not recommend, so simply adjust the amount according to your needs.
7. Bradbury’s Monarda (Monarda bradburiana). If Wild Bergamot is too coarse for you, this is a tamer and smaller species that is easy from seed and spreads well. It has lovely flowers and deep green leaves. The bees and butterflies like it too. Very expensive seed at $50 per ounce (35,000 seeds), but you only need a small fraction of an ounce and some patience.

Slender Mountain Mint ( Pycnanthemum tenuifolium)
8. Slender Mountain Mint (Pycnanthemum tenuifolium). This is a mid-summer bloomer with many, small white flowers with purple-tinted edges. It is not a spectacular flower from a distance but extremely pretty close-up. It is very easy from seed, re-seeds readily, and very popular with butterflies and bees. It will provide a mass bloom just after the Alexanders have finished. Expensive seed at $30 per ounce (378,000 seeds), but you are better off with a fraction of an ounce.
9. Side-oats Gramma (Bouteloua curtipendula). This is a charming 2 foot tall grass that I have been told is a not a strong survivor in Tennessee. Granted it will never replace Little Bluestem as a “backbone” grass species for a meadow garden, but I love the ease of growth, the cute teeny red flowers that line the grass stalks, and its simple charm. So far mine are hanging in there for their 3rd succeeding year. Cheap seed at only $2 an ounce (6,000 seeds).

Blue Lobelia (Lobelia siphilitica)
10. Blue Lobelia (Lobelia siphilitica). This is my “surprise plant.” It has very small seeds, at 500,000 per ounce. I have planted seed off and on over several years with very modest results. But it only takes a few plants, and once you have them, Blue Lobelia will move quickly into the areas that it likes. Although the books specify that it tends to be a wetland plant and likes wet to average moisture, it has planted itself on the steep, rather dry slope behind my garage. When things are turning brown and straggly in the fall, the bright blue of this lobelia is most welcome. After about 3 years, I have it scattered here and there across the entire slope. When I went back and looked at my original seed mix for this site, I found that it didn’t even contain Blue Lobelia. Although the seed is more expensive, you can buy 1/4 oz for $8, which is 125,000 seeds.
P.S. With all these quoted prices and amounts, I anticipate questions on where I buy my seed. I get it from Prairie Moon Nursery in Winona, Minnesota. While I am very happy with their quality and service, I am sure there are also other outlets with competitive prices.


 Last week I worked the TNSY booth at a seed swap sponsored by the Johnson City TN Parks Department. A woman presented me with an interesting question. She said she owns an abandoned farm field next to her house, and she wanted to know how to add native wildflowers without doing any removal of the existing grasses and weeds. It is an intriguing question and I am sure not an uncommon one. I told her to start out by purchasing a large quantity of seeds of aggressive plants that germinate easily from seed and can hold their own against existing weeds once they are up. I pointed out that there are quite a few that are $10 or less per ounce, and she could do it without spending lots of money. In a short time, she would know whether it was going to work. Otherwise she should look into purchasing plugs of aggressive plants.
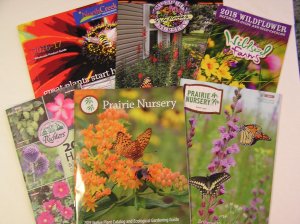 Seeds of many native plants have built-in protections that keep them from germinating at the wrong time, such as before a frost, in the fall, or during droughts. In the wild, seeds will lie dormant in the soil until the right conditions are present to insure success. There are a variety of methods that seeds use to break that dormancy, and many plant species have specific needs. To successfully grow a plant from seed, we often need to learn how specific seeds naturally break their dormancy. We can use these methods, called stratification, to increase the chances of seed germination.


 First post a comment on the website then e-mail us your mailing address to


![standing-cypress-flowering-9853[1]](https://tynnativeplants.files.wordpress.com/2012/12/standing-cypress-flowering-98531.jpg?w=300)
 Indian Blanket or Firewheel (Gaillardia pulchella). This plant has red flowers with yellow rims. It likes heat (and tolerates drought), sandy soil and full sun, potentially blooming clear into October. It is listed as getting 1 to 1 1/2 ft. tall but mine are consistently more like 3-4 ft., which can tend to make them a little floppy. I have plants in clay soil, which they don’t seem to notice, and the species re-seeds very readily for me. It occurs in 4 counties in Tennessee, mainly in Middle Tennessee and in eastern Tennessee’s Ridge and Valley Province.
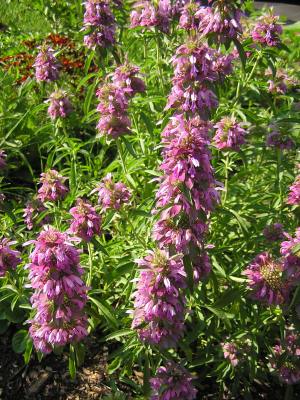
 Lemon Mint or Purple Horse Mint. It is a typical member of the Mint family with square-shaped stems, and flowers are deep purple to lavender. It gets 2-3 ft. tall, isn’t fussy about soil type and likes full to part sun. It blooms for most of the summer. Hummingbirds, butterflies and bees love it. It is my favorite plant out of all the annuals I have tried. I planted it on a fairly steep slope of clay soil and had great luck with it. Even though it is easy to start from seed scattered on bare ground, my only disappointment is that it hasn’t re-seeded for me at all. It occurs in isolated counties in Middle and East Tennessee.
 Plains Coreopsis or Calliopsis (Coreopsis tinctoria). This plant has striking yellow flowers with maroon centers and gets 1-3 ft. tall. It prefers full sun and isn’t picky about soil type. It likes damper soil so it is good for areas with poor drainage or that tend to stay soggy for periods of time. I have only tried a variety of this plant called Dwarf Red Plains Coreopsis (with the same scientific name). It has very striking, solid mahogany-red flowers and blooms from mid- to late summer. I had good luck getting it to come up and bloom, but then it disappeared, probably because my soil didn’t stay wet enough. However, it was still worth having, just for that solid deep, red color. The species is native to Tennessee and occurs statewide. The dwarf variety appears to be originally native to mid-western U.S. and has escaped from cultivation in the eastern U.S.
 Red Corn Poppy or Flanders Poppy (Papaver rhoeas). This bright red poppy is technically a native of Europe and has become naturalized throughout the United States. It has fire engine red flowers, and you can easily spot it from 30 or 40 yards away. It needs full to part sun and blooms spring to early summer. It is a regular sight along Tennessee’s Interstate System. For all the seeds I have put down, I have gotten mighty few plants. I read that good germination only occurs in areas of bare ground which may be part of my problem. However, even one or two successes are enough reward to keep me trying, at least for a while. (A knowledgeable friend of mine who proofed this post for me tells me that I will get better results if I scatter seed in fall instead of spring.)
 Scarlet Sage (Salvia coccinea). This plant has fluorescent red tubular flowers and can get up to 3 feet tall. It likes full to part sun and sandy to gravelly soil. It potentially blooms from early summer to the first frost and is a hummingbird magnet. Even though it is found growing wild in the southern U.S., it was originally introduced from Brazil. Although I usually try to stick with Tennessee natives, I find this plant hard to resist. It is so striking and brings in the hummingbirds and butterflies that I love. I buy seed by the ounce and scatter it widely. Although most seeds don’t come up on my clay soil, I get enough plants to make it worthwhile and even a little re-seeding. However, I do find that my plants don’t start blooming until late summer or early fall.


 Photo courtesy of Prairie Moon Nursery
 Photo courtesy of Illinois Wildflowers
 Photo courtesy of Illinois Wildflowers


